You can also download a customized Kit which will include any custom icons you've added, as well as Pro+ icons if you have a Pro+ plan. Get the details on using a Downloaded Kit
Install the Ligature-based Font Files
Get up and running using ligatures to insert icons into your documents by first installing all of the styles you'd like to use. Here's a rundown of what font file corresponds to which Font Awesome style:
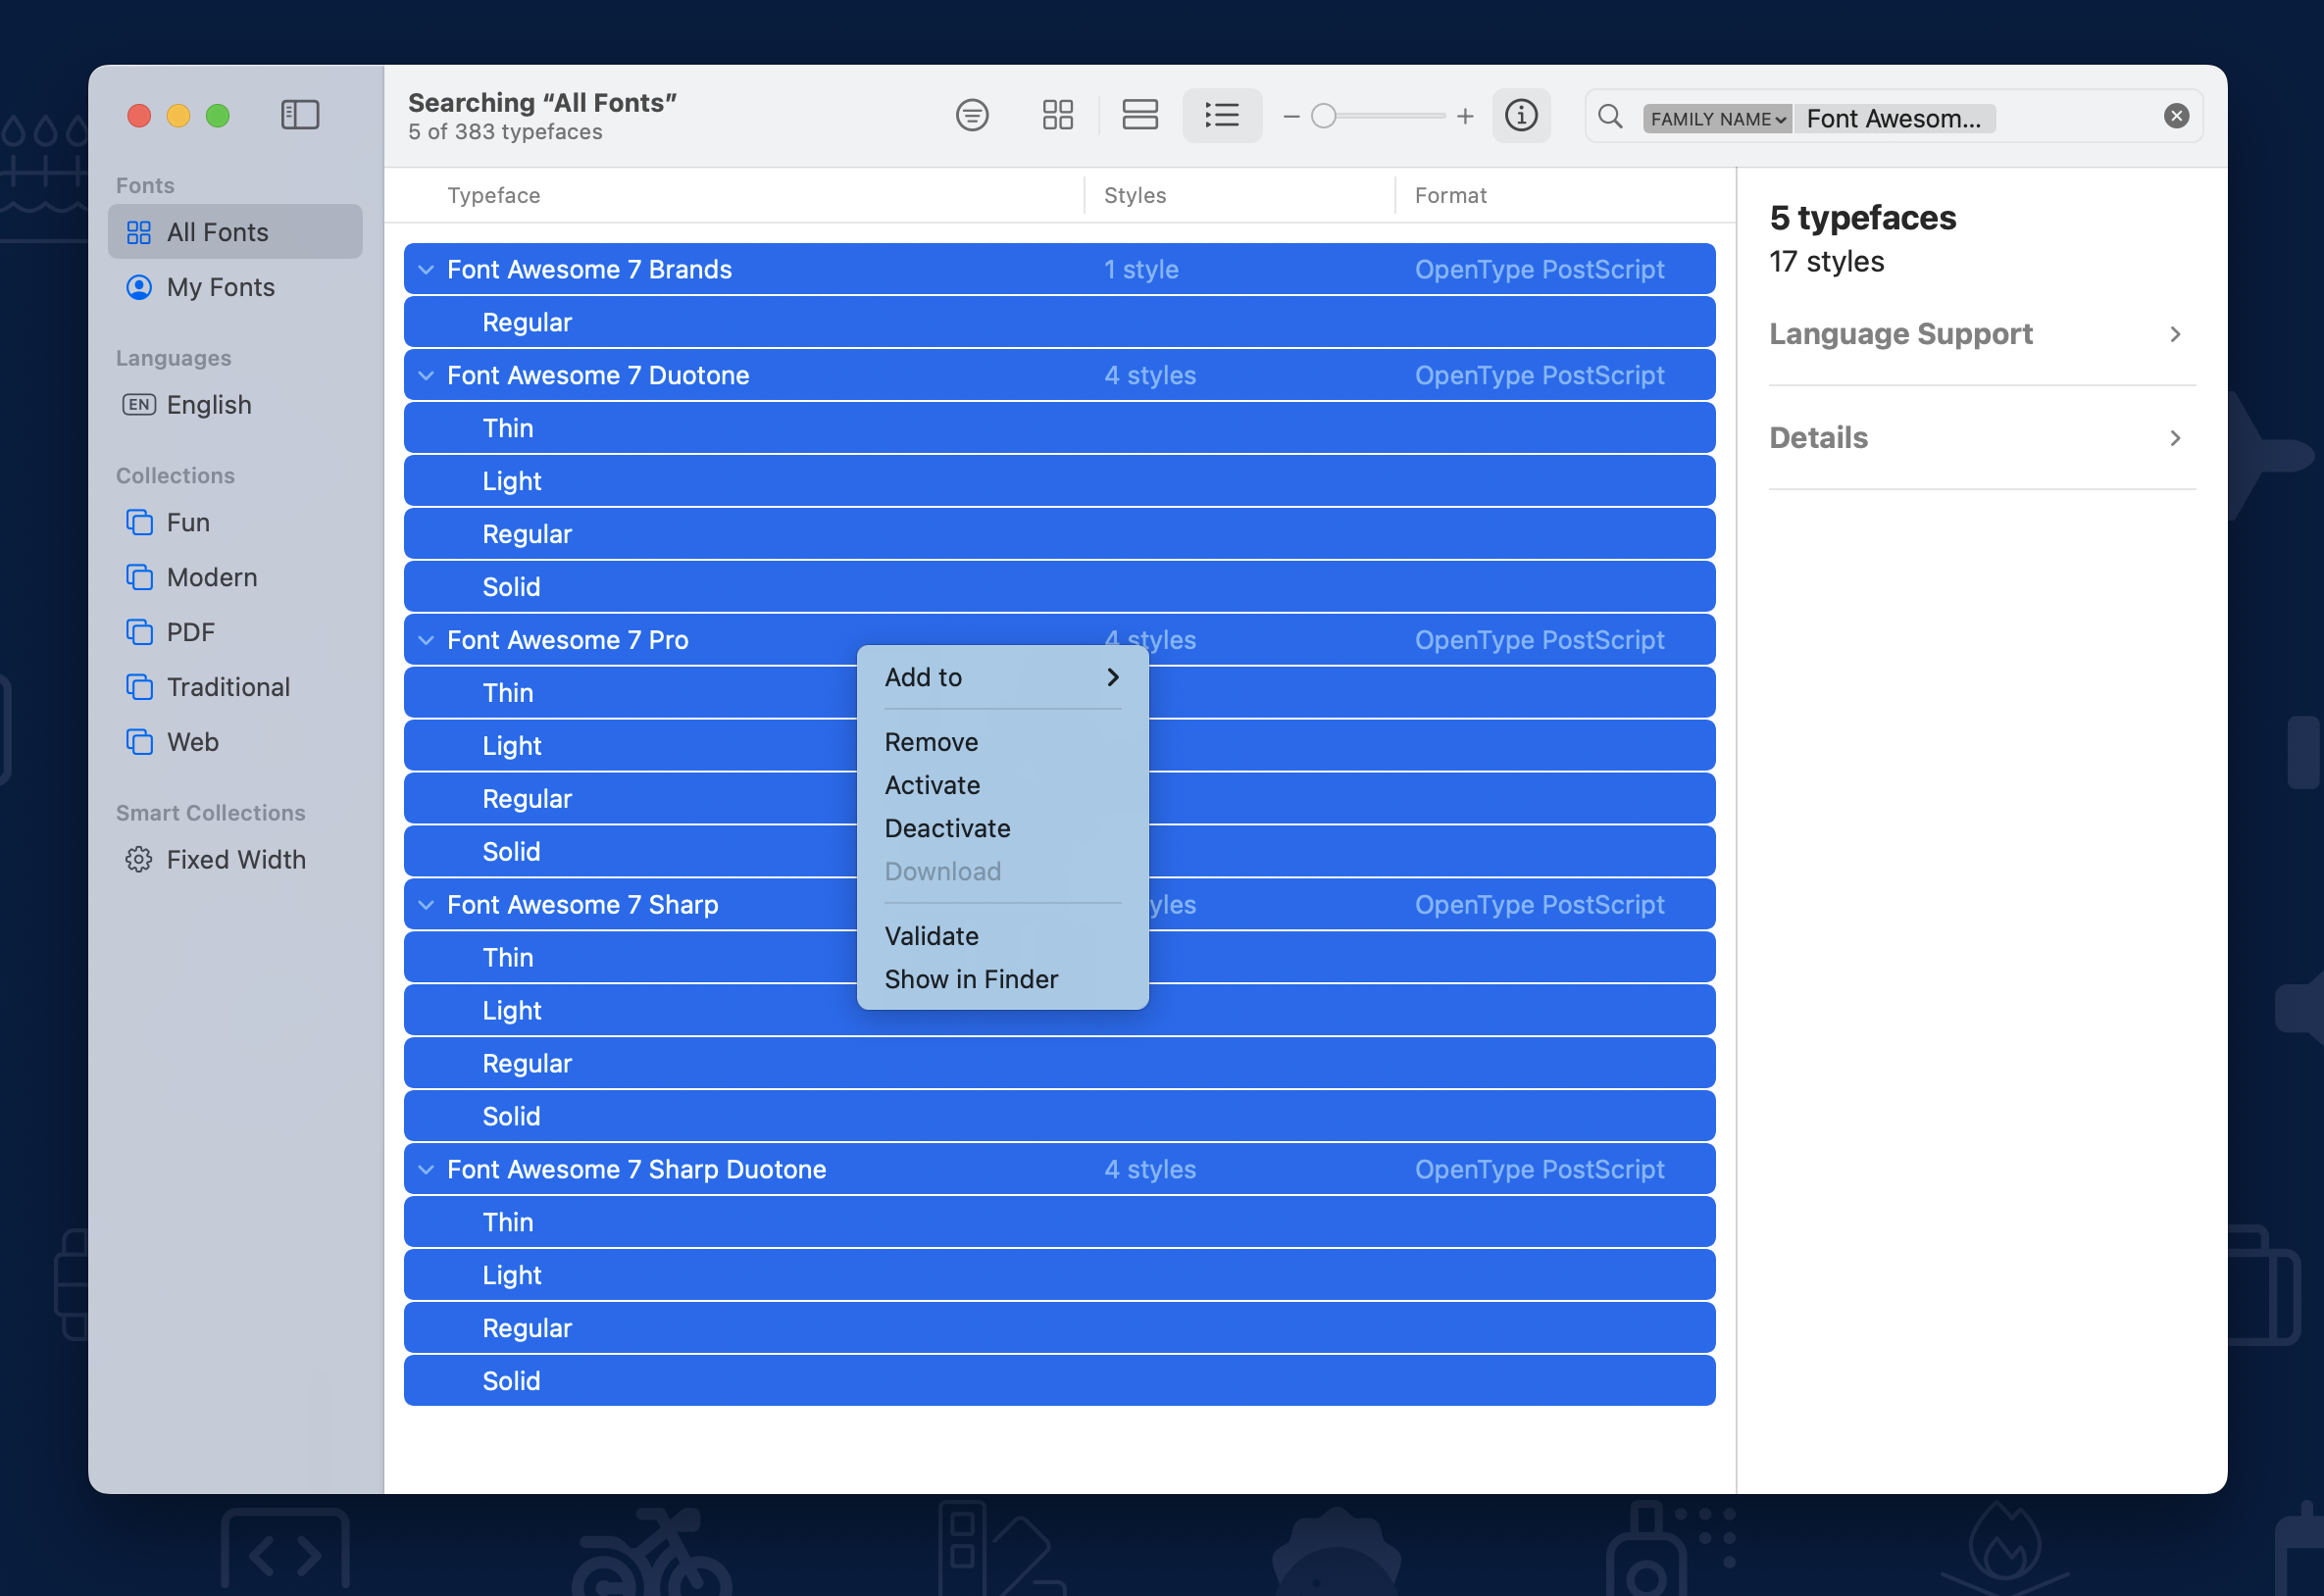
You'll want to install these into the Font Manager that your operating system uses to manage fonts. For Macs, that is often Font Book or FontBase. For Windows, it's the Fonts control panel. Also, depending on your operating system and management software, **make sure that you've activated/enabled these fonts in the Font Manager once they are installed**. They will only be available to use in your apps if they have been activated.
Font Awesome 7 fonts installed and being activated in Font Book on Mac OS X
Not sure how to install fonts?
Check out these PC and Mac help articles for more details and guidance.
Enable Ligatures
Many desktop programs have a setting for enabling ligatures. Most of the time, we find it's on by default, but if you're having trouble with ligatures, you might want to check that ligatures are turned on.
We have instructions for a few common applications listed below, but you should check the documentation for your specific program and version.
Adobe Creative Cloud
In Photoshop, you can toggle ligatures using the "fi" button in the Character palette. In Illustrator, you can find the "fi" button in the Open Type palette.
Enabling Font Awesome ligatures in Adobe Photoshop
Windows + Microsoft Office
To enable ligatures in Microsoft, open your font settings by hitting Ctrl-D. In the Advanced tab under Open Type Features, set ligatures to "All" and make sure the "Use contextual alternates" checkbox is checked. And make sure your document isn't in compatibility mode.
Enabling Font Awesome ligatures in Microsoft Office on Windows
 Font Awesome 7 fonts installed and being activated in Font Book on Mac OS X
 Enabling Font Awesome ligatures in Adobe Photoshop
 Enabling Font Awesome ligatures in Microsoft Office on Windows