Style Icons with WordPress
Font Awesome has a ton of great styling tools that work hand-in-hand with our icons to make your project look its best.
In this doc, we'll tell you how to add styling to your icons in WordPress using the Font Awesome WordPress plugin styling tools.
Open the Styling Tools
Our WordPress plugin provides an interactive styling tool to add color, size, rotate, and animate your icons. To open the styling tool, click the styling option in the format bar for your element:
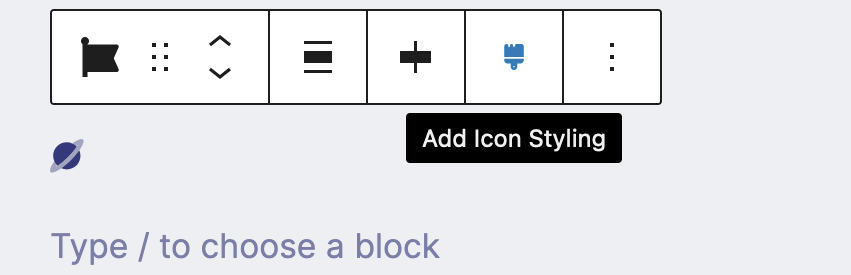 Access the block element styling by clicking the paintbrush in the format bar
Adding Styling
When you open the styling tool, you'll see the styling options on the right and the icon preview on the left:
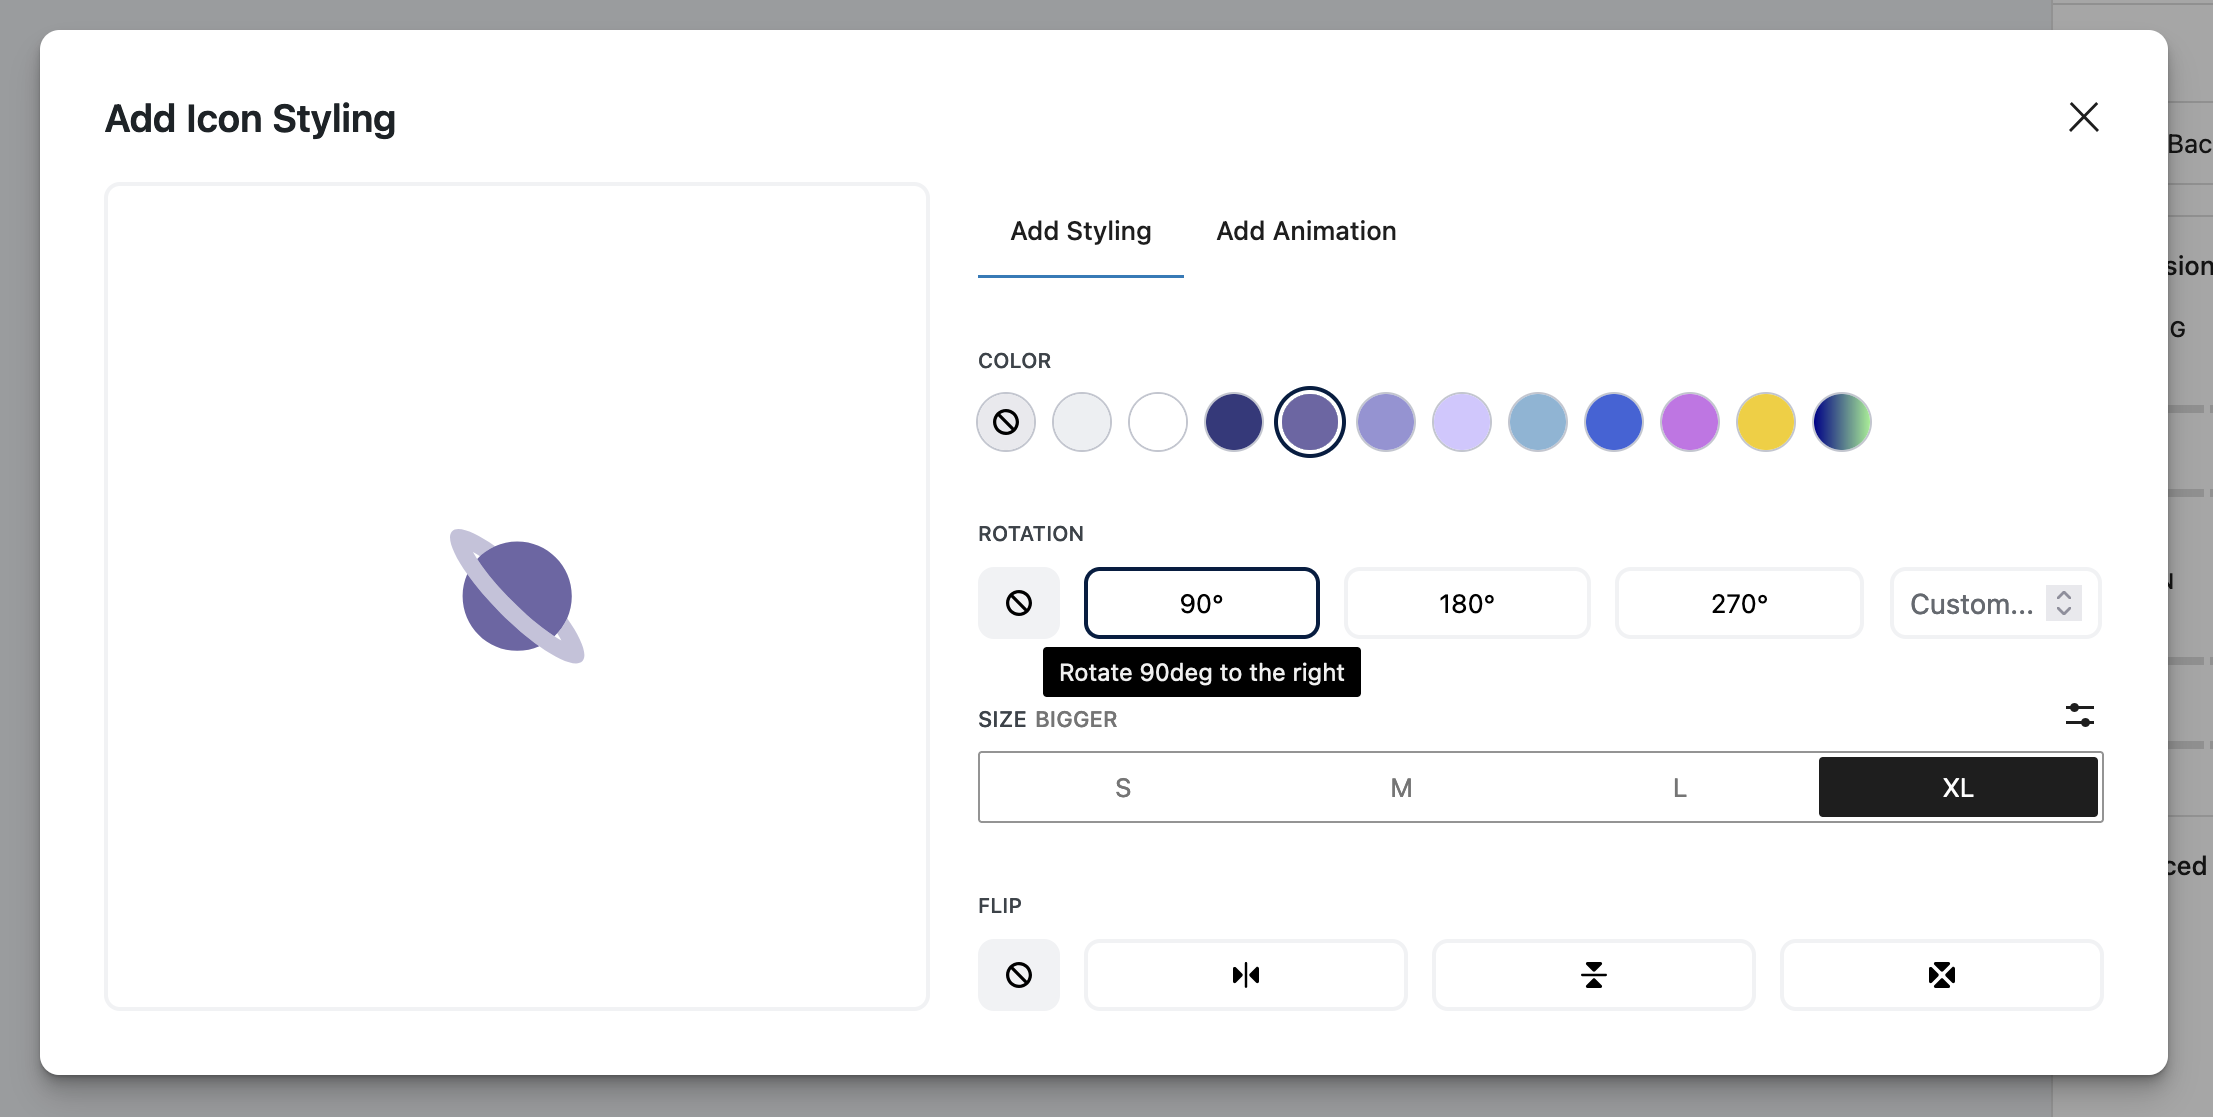 Font Awesome Styling Tool with color, rotate, size, and flipping options
The colors of your theme are available, or you can select a custom color from the last option. To remove the custom color and return the icon back to the default, click the "No Color" option. There are custom options for rotation and size. As you adjust the styling, you'll see the icon change.
You can also add animations in the Animation tab:
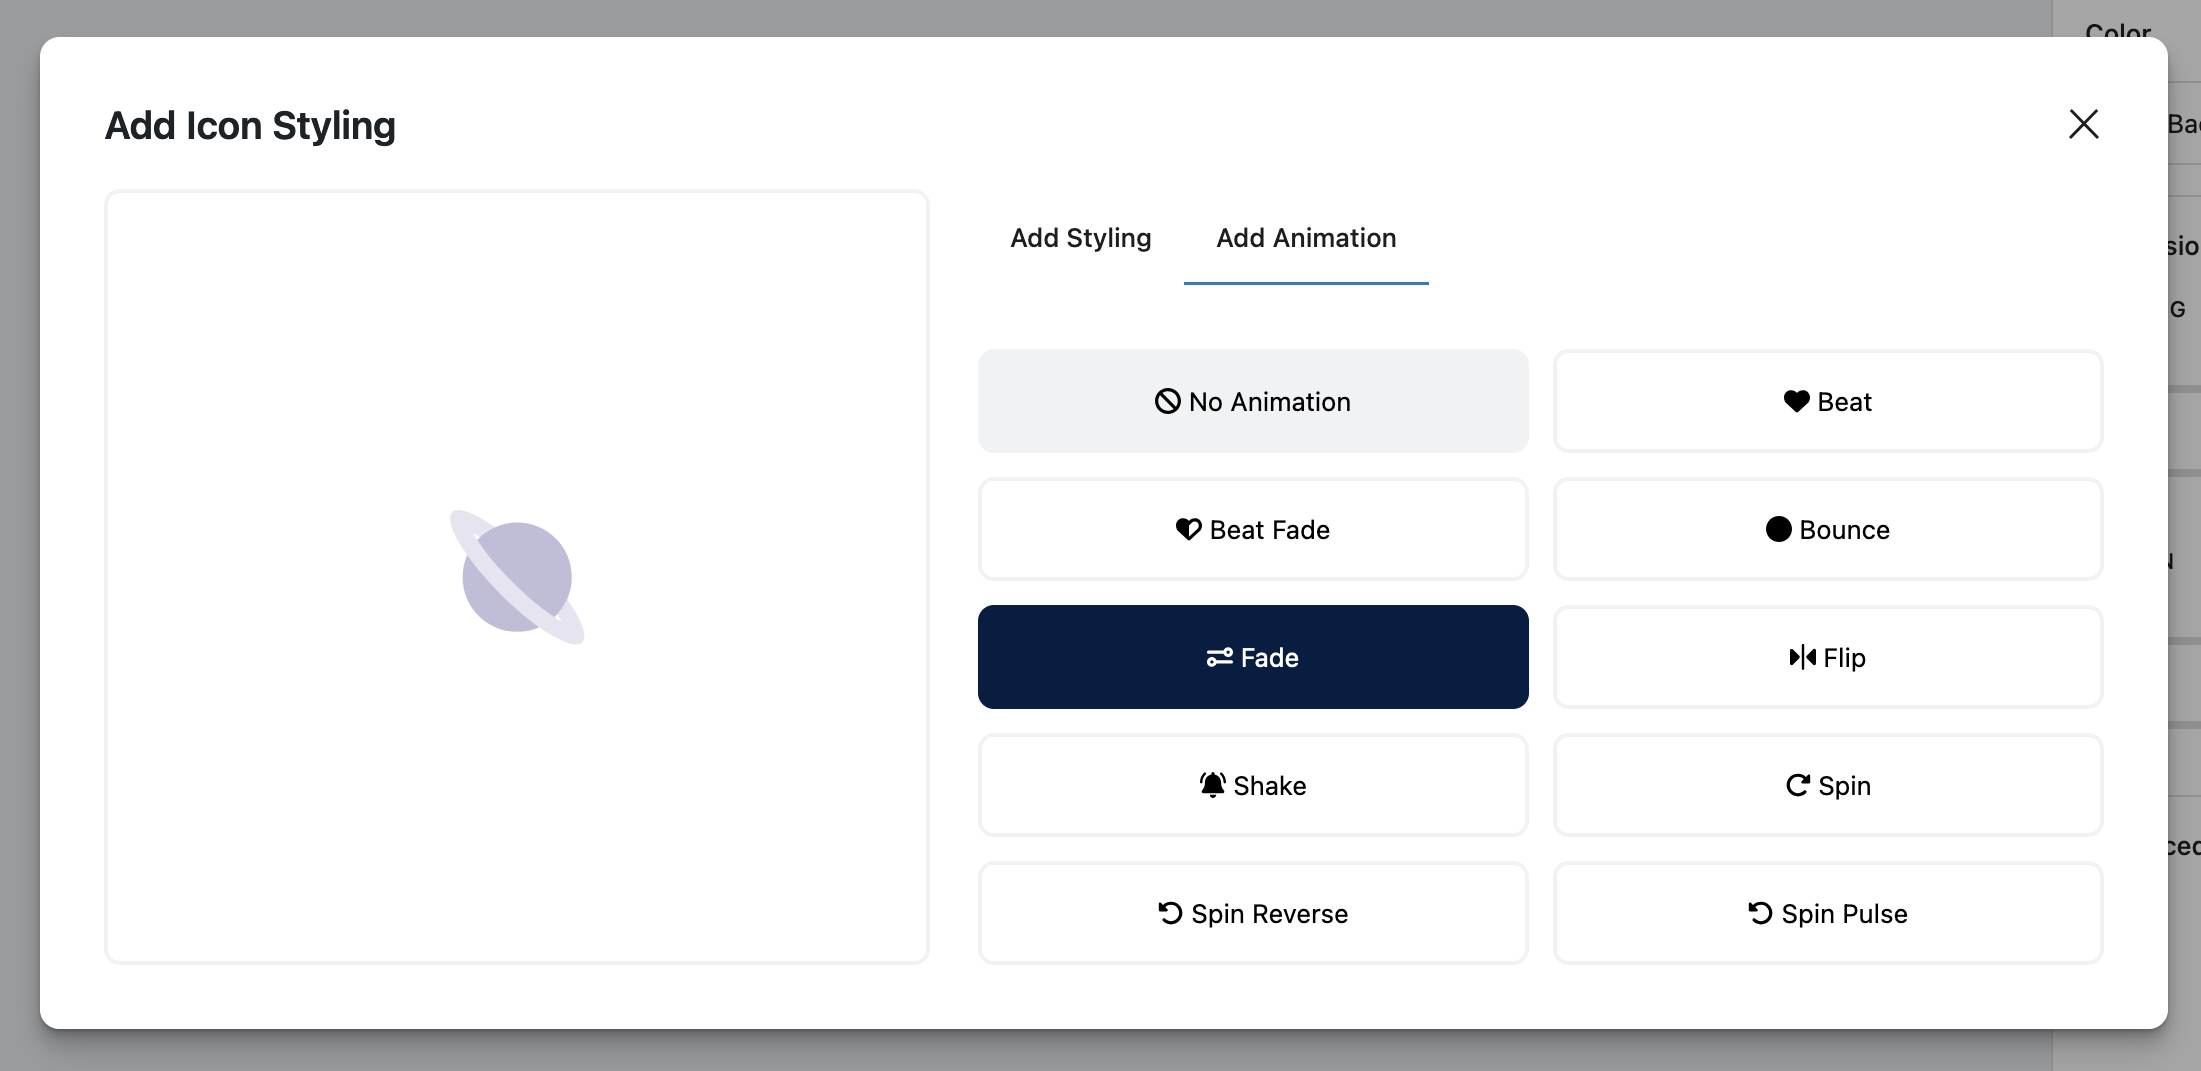 Font Awesome icon animation options
Once you are happy with the styling, close the modal and you'll be able to see your icon with the styling added in your page content.
Other Ways to Add Styling
If you are using shortcodes or HTML elements to add icons to your content, you can add attributes to the icon shortcodes or i tag which means you can add any styling that Font Awesome offers via CSS classes, like:
- Sizing your icons to be bigger or smaller
- Rotating icons to give them a different orientation
- Animating icons to create motion
- And other styling options!
Here's an example:
as a shortcode: [icon name="yin-yang" prefix="fas" class="fa-2x fa-spin"] as HTML:
<i class="fa-yin-yang fa-solid fa-2x fa-spin"></i>
Here are attributes that can be passed through the shortcode or added to an HTML element:
| Attribute | How you can use it |
|---|---|
class |
Either your own or Font Awesome-specific CSS classes |
style |
For your own custom CSS |
title , aria-hidden , aria-labelledby , role |
Accessibility helpers |
Icon name and style prefix |
Basic Font Awesome attributes |